Data has emerged as the most valuable commodity in today's world. Understanding how your users interact with your platform is essential for propelling your business to new heights.
When it comes to analytics, Google stands out as the industry leader, offering exceptional services. The best part is that it comes at no cost, making it accessible to businesses of all sizes!
In this tutorial, we will explore the seamless integration of Google Analytics into a Next.js application. This integration will provide valuable insights into user behavior, enabling you to make informed decisions and drive your business forward.
Let's get started!
Step 1 — Get the key
To begin, access Google Analytics and log in using your Google account. Next, locate the Settings Icon (⚙️ Admin) at the bottom of the page and select "Create Account" from the options. Alternatively, if you already have an account, you can choose "Create Property" instead.
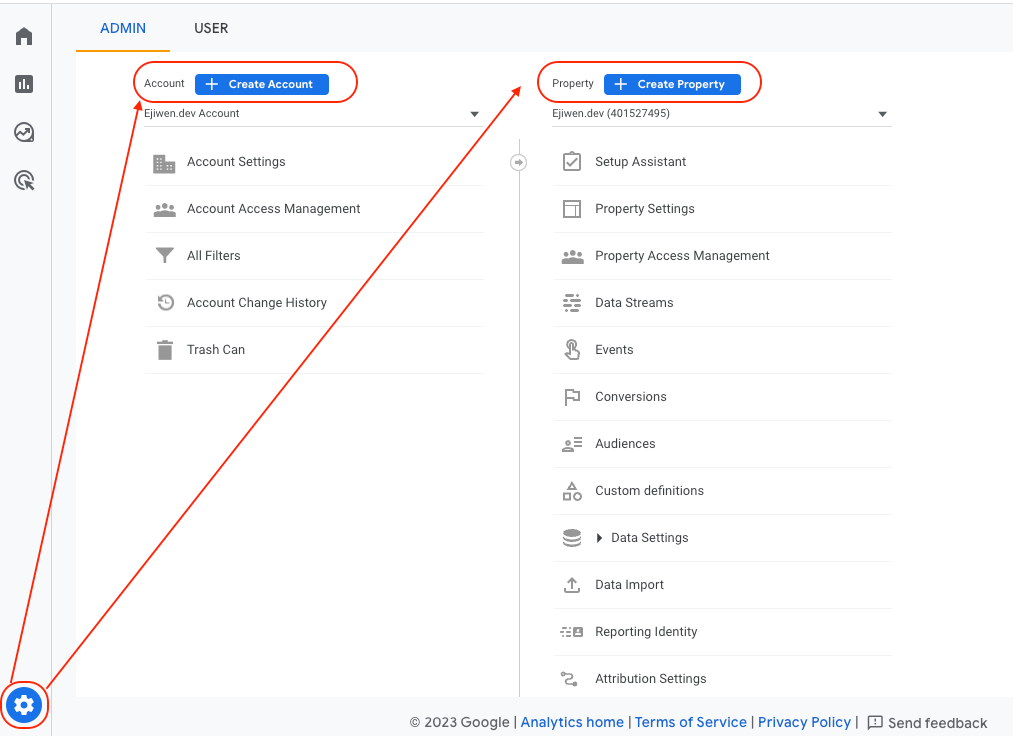
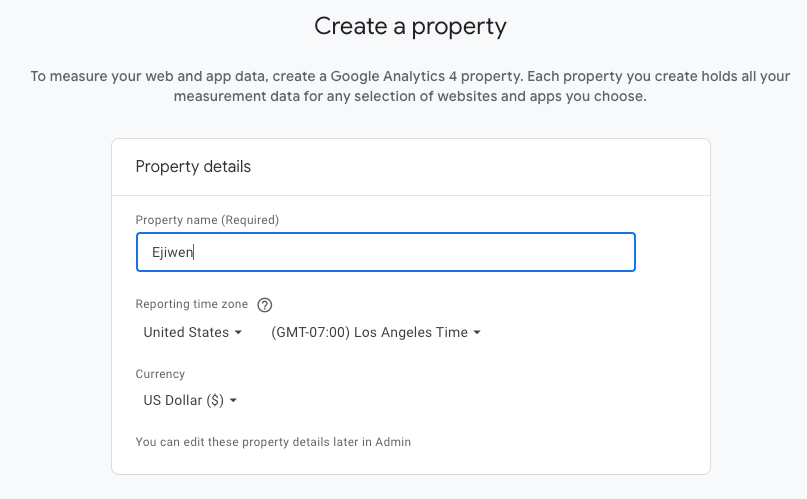
Kindly provide the account name and then Fill in the property details along with the time zone and currency:
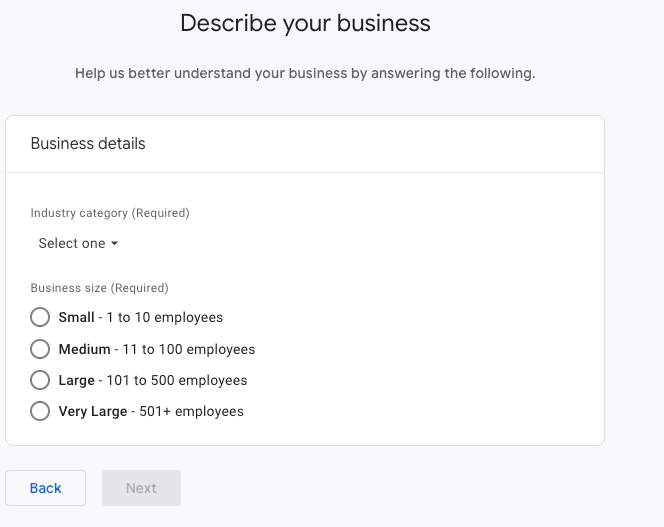
Ultimately, input the business particulars and proceed by selecting Create:
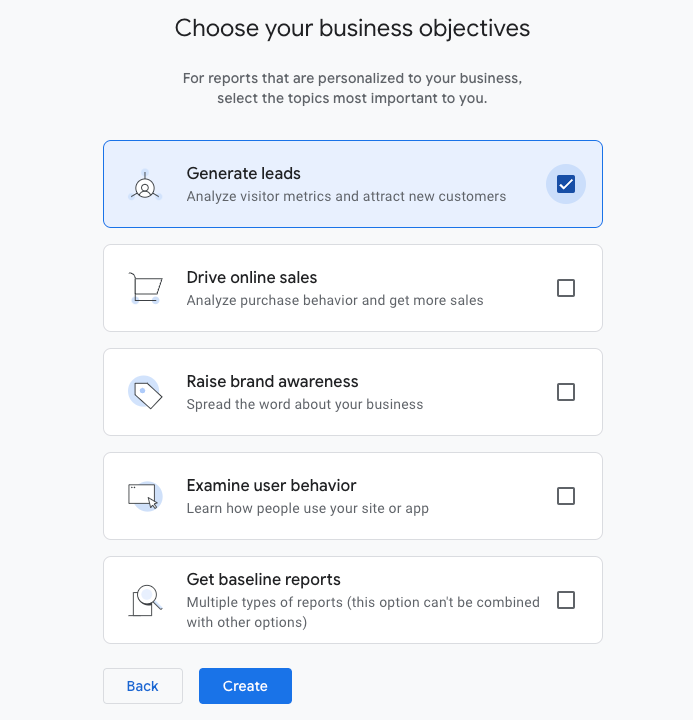
Then choose your business objectives
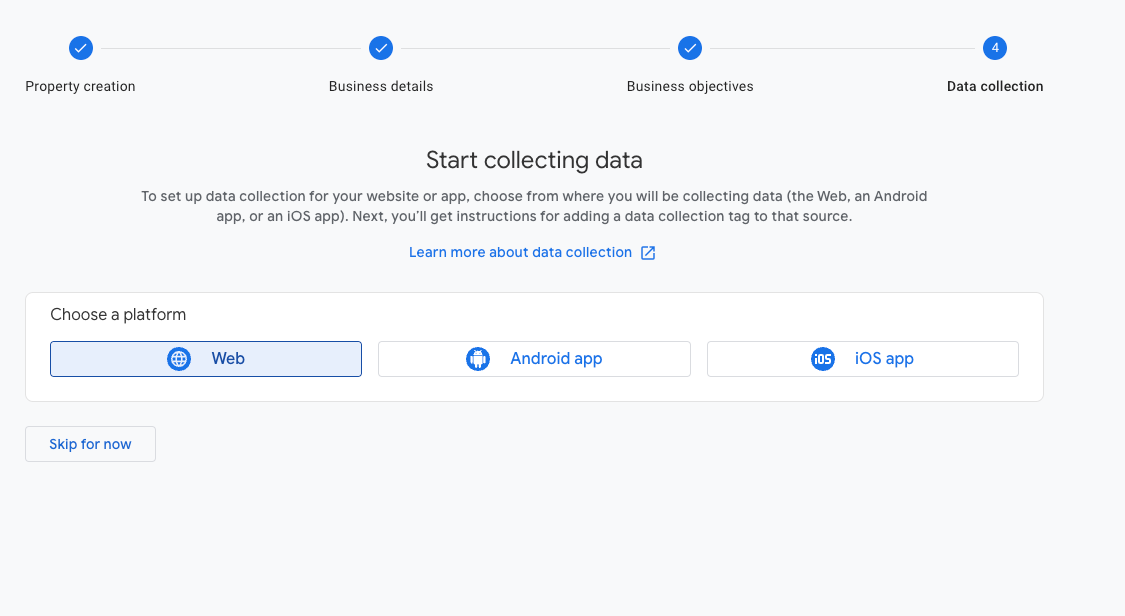
You will now be taken to a page presenting the following choices. Here, select the option labeled "Web."
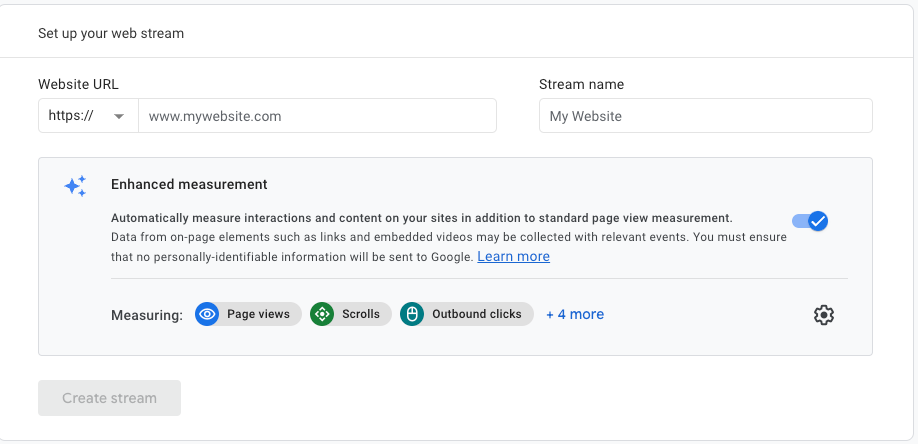
For the subsequent stage, furnish your website particulars and then initiate the stream creation by clicking on "Create stream"
You'll get a measurement ID now. Write it down because you'll need it for the next step.
Step 2 — Adding GA to your Next.JS project
Once we've set up our Google Analytics account and created our stream, we're now prepared to link Google Analytics with our Next.js project.
Access the _app.tsx (If your project use TypeScript) OR _app.js file and insert the two script tags within it.
...
import Script from "next/script"
....
export default function App({
Component,
pageProps,
}: AppProps<SharedPageProps>) {
const { draftMode, token } = pageProps
return (
<>
<Script
strategy="lazyOnload"
src={`https://www.googletagmanager.com/gtag/js?id="Your_GA_Measurement_ID"`}
/>
{`
window.dataLayer = window.dataLayer || [];
function gtag(){dataLayer.push(arguments);}
gtag('js', new Date());
gtag('config', 'Your_GA_Measurement_ID', {
page_path: window.location.pathname,
});
`}
</Script>
<Component {...pageProps} />
</>
)
}
Congratulations, your application is now configured with Google Analytics, allowing you to monitor live user activity.
